

Pythonで
・RDSを開始
できます!
この記事では
・プロファイルを指定した方法
紹介します!
※ローカルから実行します。Lambda関数からではなく。
前提
外部ライブラリ「boto3」がインストールされていること。
pipコマンドでインストールする場合、以下でインストールできます。
pip install boto3コード
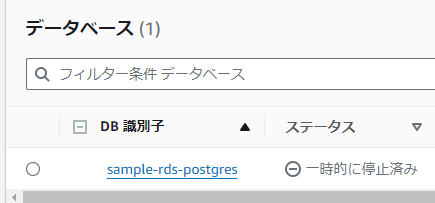
ここでは例として
・DB 識別子「sample-rds-postgres」を開始
します。
from boto3.session import Session
from botocore.exceptions import ClientError

# プロファイル名
profile = "develop"
# DB識別子
db_instance = "sample-rds-postgres"

try:
    session = Session(profile_name=profile)
    rds_client = session.client(service_name="rds")
    # RDSを開始
    response = rds_client.start_db_instance(DBInstanceIdentifier=db_instance)
    print("RDSを開始しました。")
except ClientError as e:
    print("エラーが発生しました。")
    print("エラーコード:" + e.response["Error"]["Code"])
    print("エラーメッセージ:" + e.response["Error"]["Message"])
except Exception as e:
    print("エラーが発生しました。")
    print(e)
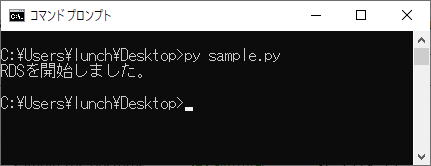
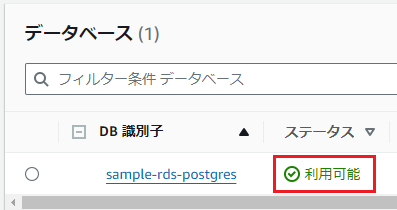
実行結果
プロファイルを指定して、RDSを開始できました。
参考
上記のコードは以下の公式サイトを参考にして作成しました。
